Photo Single Grid Mission
Single grid drone missions are commonly used in various applications, such as aerial photography, surveying, mapping, and inspection. The drone flies over a designated area and captures images or data points at predefined intervals. This data can then be used to create 2D or 3D maps, identify changes over time, or inspect infrastructure for damage or maintenance needs. Single grid drone missions are particularly useful in areas that are difficult or dangerous to access by foot or vehicle, and can save time and costs compared to traditional surveying methods.
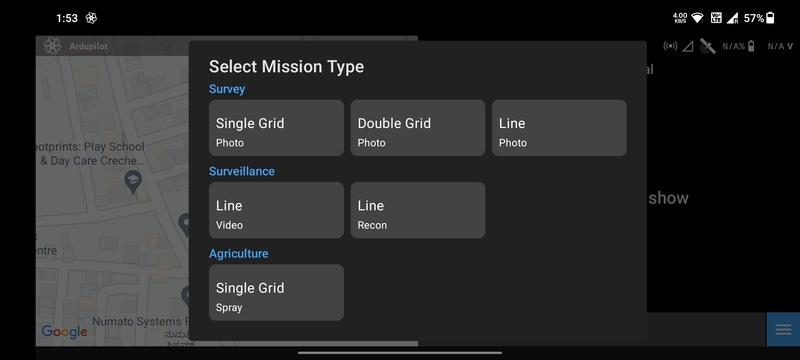
Create Mission
Select the Photo Single Grid mission type in the Mission List Screen to
create the mission. This will open the Mission Planning Screen.
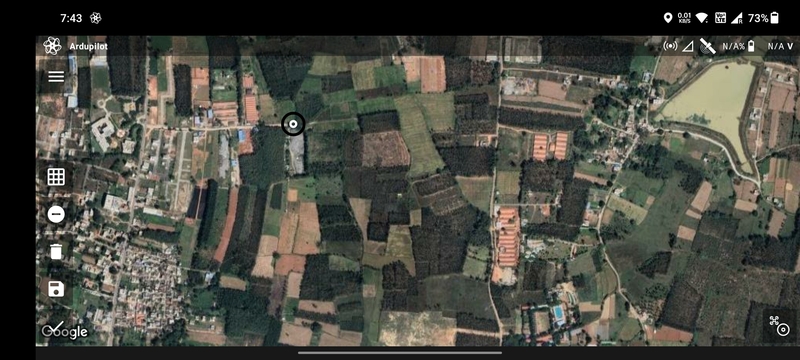
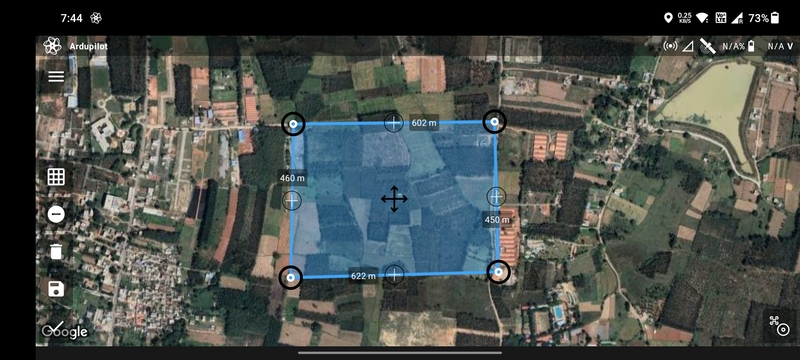
Drawing
Ensure that the Add/Remove Vertices button has a negative sign. Then tap anywhere on the screen a marker will be
displayed which marks the first vertex of the polygon.
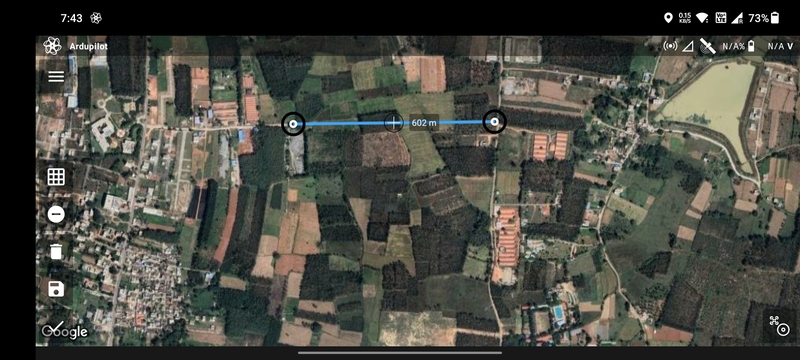
Tap where you want to create the second vertex of the polygon. The blue line joining the two points is the boundary of the polygon.
Repeat the process to add more vertices to the polygon.
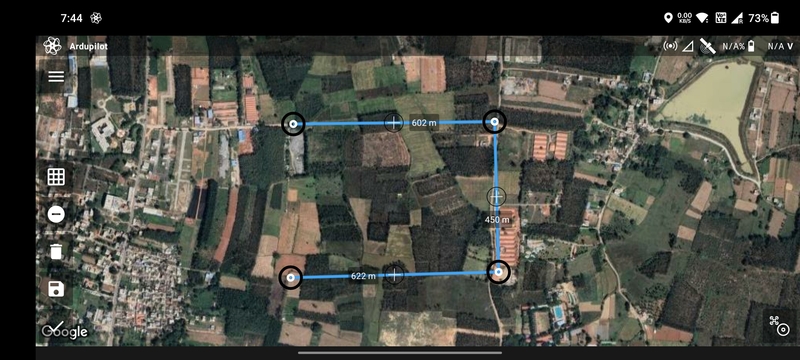
Finally, tap on the first vertex to complete the polygon.
You can add or edit vertices as mentioned in Mission Planning Screen.
Parameter Selection
The following parameters are available for a Photo Single Grid mission:
AltitudeRTL AltitudeSpeedCamera: Available camera types.Front Overlap: Percentage longitudinal overlap between the images.Side Overlap: Percentage lateral overlap between the images.Heading Angle: Angle of movement of the drone.Flip Direction: Exchange start and end points.Fixed Yaw: Enable to do the mission at a fixed yaw angle.Yaw Angle: Yaw angle in case of fixed yaw.End Action: Whether the drone should perform anRTLorHoverat the last waypoint.

Based on the parameters selected, the following values are calculated and displayed:
Polygon AreaGSD: Ground sampling distance.Total Photos: Estimated photos count.Photo Interval: Time interval between two consecutive photos.Total DistanceTotal DurationMax Distance
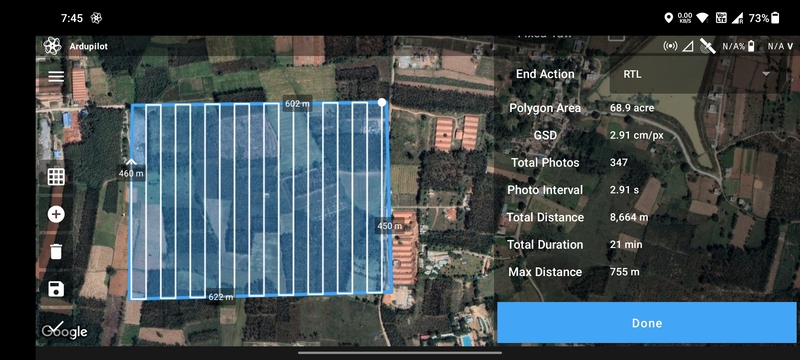
The factors deciding the Photo Interval are Altitude, Speed, Front Overlap. Always make sure that the
combination of the above parameters results in a Photo Interval which is not too low, otherwise there's a chance that
the drone may miss photos.
The red color of the Photo Interval value shows that it is too low.
Once done, click on the Done button to move on to the Flight Screen.